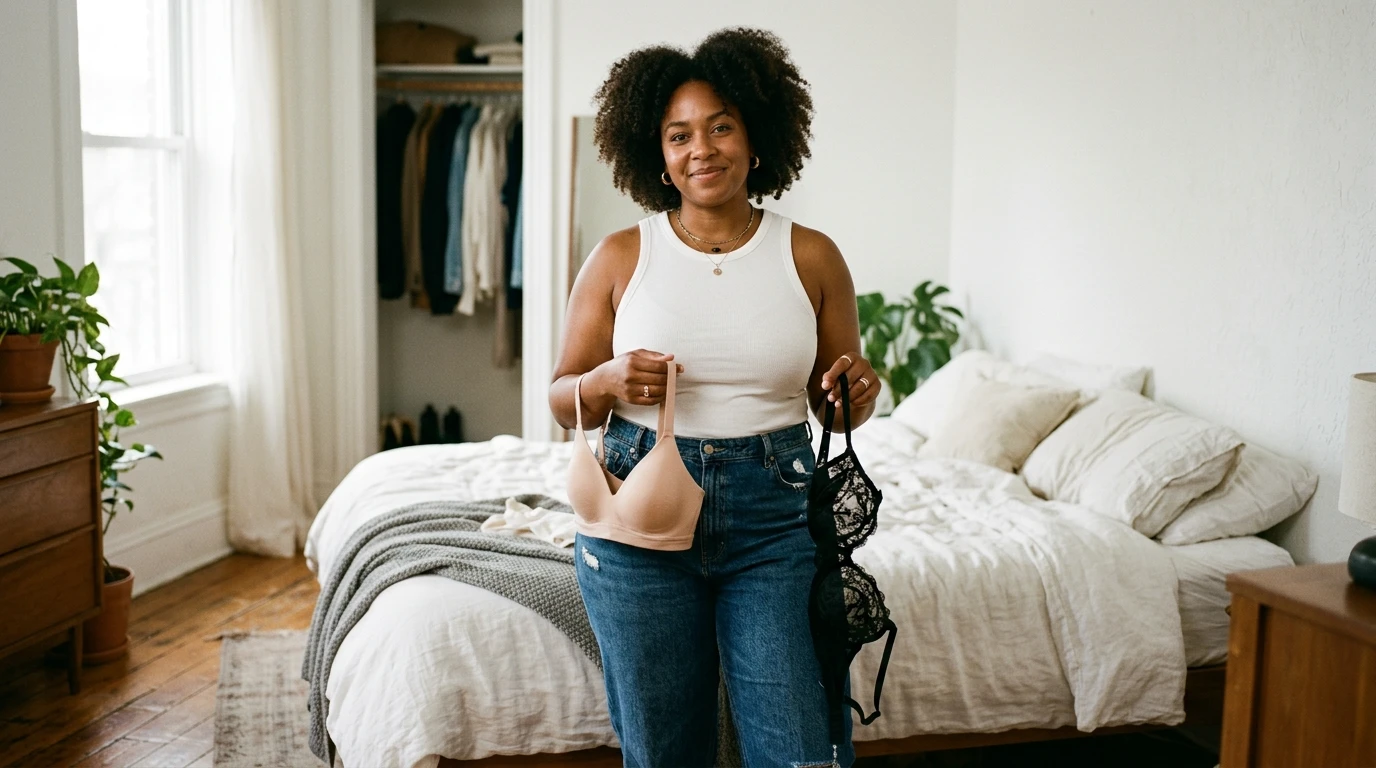
Wondering? How To Pick The Right Plus Size Bra For Outfit Photos That Looks Great And Feels Even Better. You know that feeling. You put together a cute outfit, snap a photo, and your bra ruins everything. Bulges. Spillage. Straps that dig in. It’s frustrating and honestly, it makes you want to skip the photo altogether.
I’ve styled hundreds of curvy women, and this is the number one complaint I hear. The good news? You can solve this problem. This guide will show you exactly how to pick a plus size bra for outfit photos that gives you a smooth silhouette and feels comfortable all day. No more awkward photos. No more adjusting yourself every five minutes. Let’s fix this.
Step 1: Identify Your “Photo Problem” Before You Shop
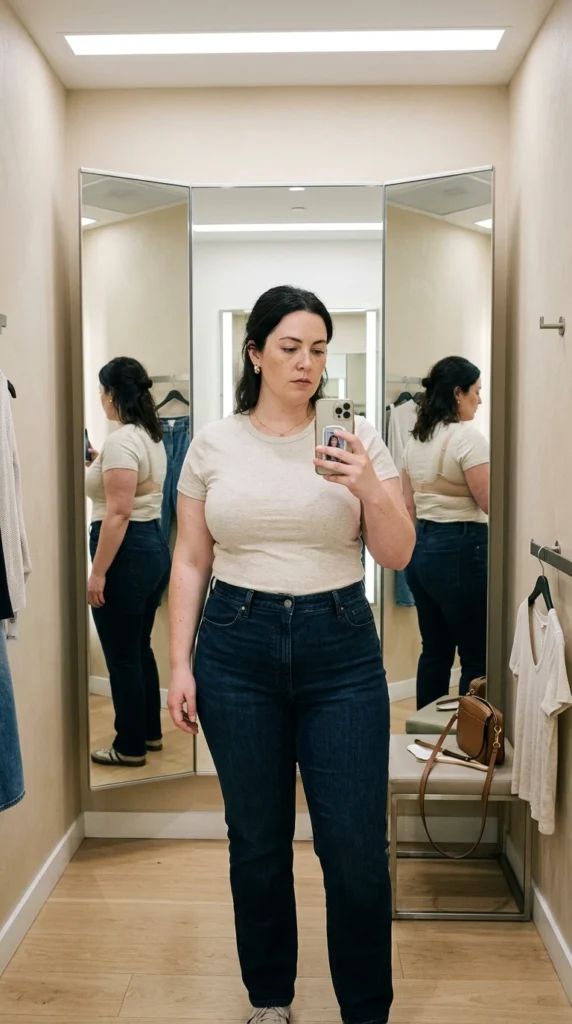
Most women buy bras for how they feel in the mirror. But outfit photos show you things the mirror doesn’t. Take a quick selfie in natural light wearing your current bra and a fitted top. Look at the photo. What do you see? Back bulges? Quad-boob? A weird line across your chest? This is your “photo problem.” Write it down. Maybe you have side spillage near your armpits. Maybe the center gore doesn’t lie flat. Maybe your breasts look flattened instead of lifted. Your “photo problem” tells you exactly what to fix. This step saves you from buying another bra that creates the same issues.
Quick Tip:
- Take photos in a white or light-colored fitted tee for the clearest view
- Look at the photos immediately, not days later
- Note the angle – front view and side view tell different stories
Step 2: Stop Buying The Same Cup Size For Every Outfit
Here is a secret most women don’t know. Your cup size changes based on the outfit’s neckline and fabric. A t-shirt bra in 38DD will not work for a wrap dress. A plunge bra in 38DD will not work for a high-neck top. You need different bras for different photo scenarios. For outfit photos, think about what you wear most. V-necks need a plunge bra that sits lower.
Fitted knits need a smooth seamless cup with zero texture. Off-shoulder tops need a strapless bra with serious grip. Owning three targeted bras beats owning ten generic ones. Your plus size bra for outfit photos should match your most-worn necklines. This one change makes every photo instantly better.
Step 3: The “Double-Close” Trick For Smooth Back And Sides
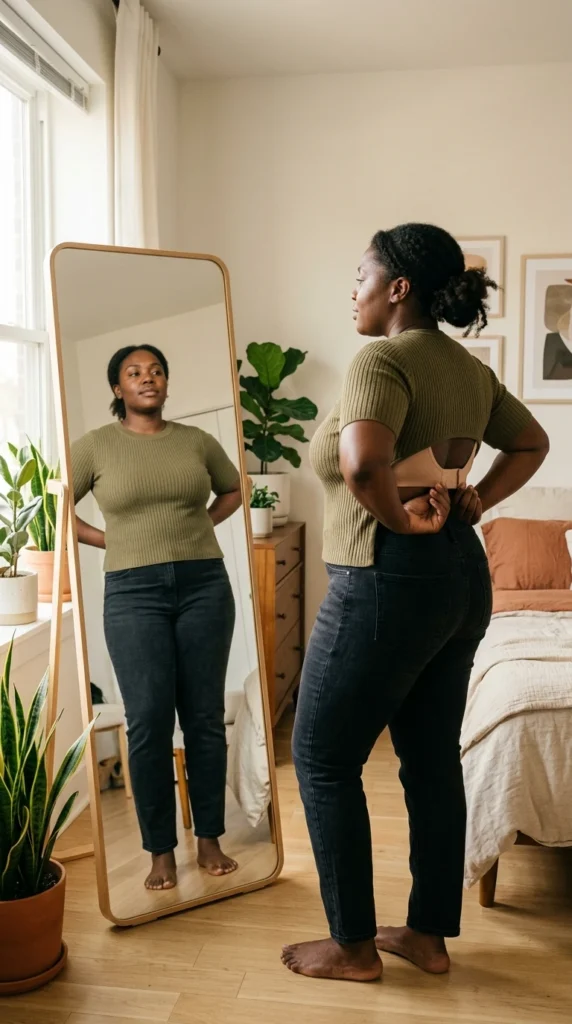
Back fat and side bulges ruin outfit photos. Here is a stylist trick that works every time. Put on your bra normally. Then reach behind you and pull the band down about an inch. Now hook it again on the loosest set of hooks. This is called double-closing. It drops the band lower on your back where skin is smoother and less likely to bulge.
The lower band position also creates a cleaner line under fitted tops. Most women wear their band too high. A high band sits on the squishy part of your back. A lower band sits on your ribs. Ribs don’t bulge. This trick changes how your plus size bra for outfit photos looks from the back. Try it with your next fitted dress or knit top.
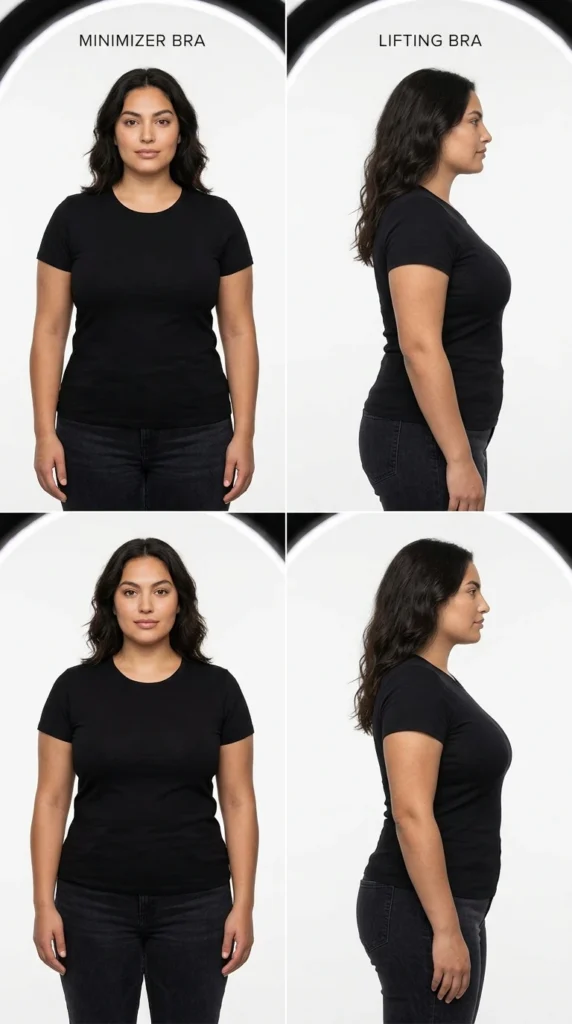
Step 4: Choose Minimizer Over Lifting For Photos
This might surprise you. For outfit photos, a minimizer bra often works better than a lifting bra. Lifting bras push breasts up and forward. That creates extra width on your sides and shadows under your bust in photos. A minimizer redistributes breast tissue evenly across your chest. You look smaller and leaner in photos because there are fewer shadows and less side projection.
But here is the catch. You need a minimizer with proper support, not a flimsy one. Look for wide side panels and a higher center gore. These features hold everything in place without flattening you into a unit-boob. Your plus size bra for outfit photos should reduce width while keeping a natural shape.
Step 5: Swap Underwire For A Bralette On Casual Photo Days
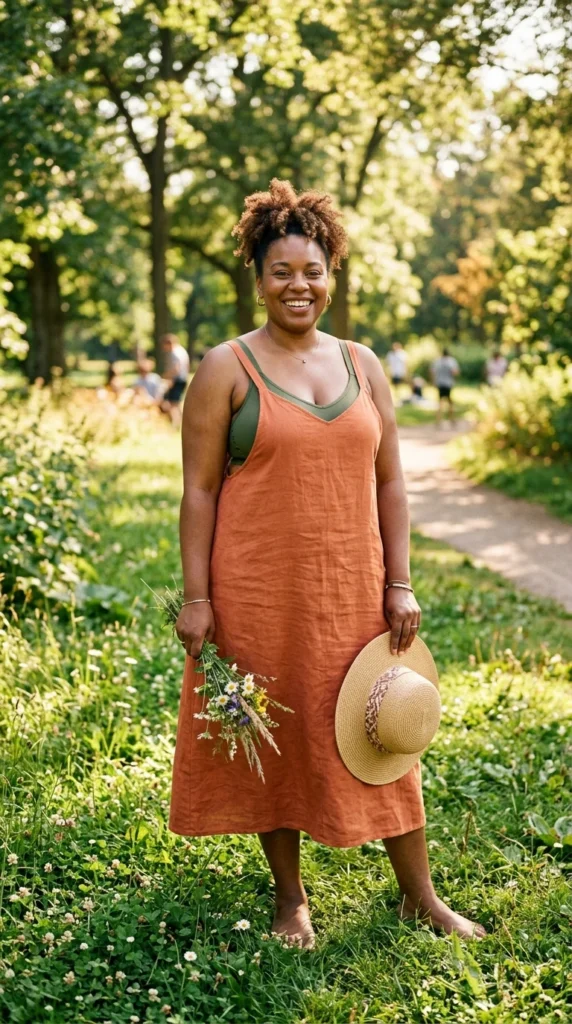
Not every photo needs a heavy underwire. For casual outfit photos like jeans and a tee or a relaxed sundress, try a bralette. Bralettes create a softer, more natural shape that photographs beautifully in natural light. The key is finding a bralette with actual structure. Look for wide straps, a thick underbid, and seamed cups.
These features give shape without the rigid frame of underwire. A bralette also eliminates the wire marks and indentations that show through fabric in photos. If you are wearing a sheer or lightweight top, a bralette is your best choice. It looks effortless and comfortable in photos. Sometimes the plus size bra for outfit photos is actually no wire at all.
Step 6: Prep Your Bra Before The Photo Shoot
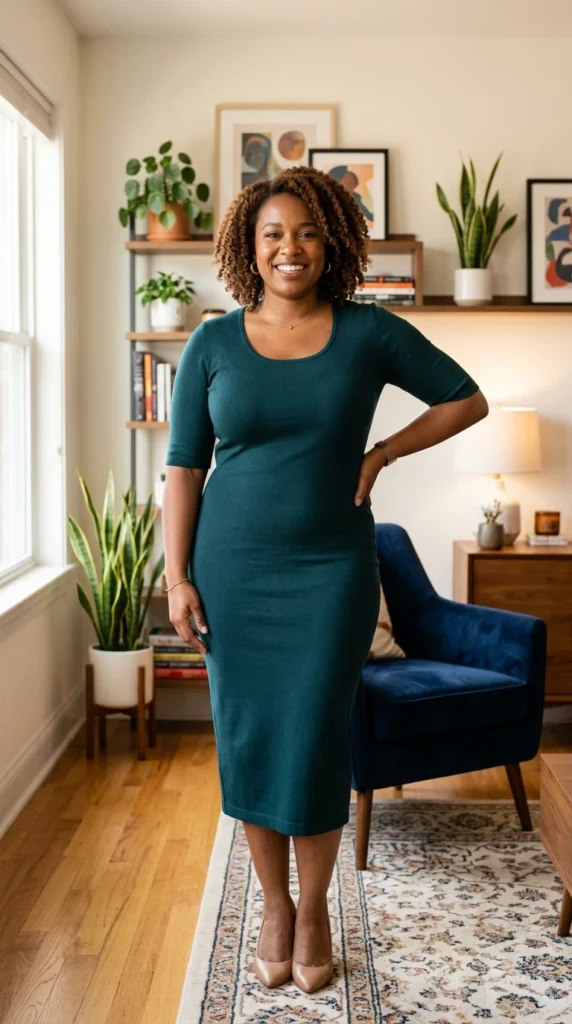
You cannot just throw on a bra and hope it photographs well. Take five minutes to prep it first. Check the straps. Are they uneven? Adjust them so they sit straight and flat on your shoulders. Check the band. Is it riding up in the back? That means you need to tighten the straps or move to a smaller band size. Here is the most important step. Do the scoop and swoop.
Lean forward, reach into your cups, and gently pull all your breast tissue from the sides and bottom into the cup. This fills the cups properly and eliminates gaps and bulges. It also lifts your breasts naturally. Every professional stylist teaches this trick. It takes ten seconds and changes everything.
Quick Tip:
- Adjust straps to sit flat, not dig in
- Check the center gore – it should touch your chest
- Do the scoop and swoop before every photo
Frequently Asked Questions
What type of bra is best for a strapless or off-shoulder outfit photo?
A longline strapless bra with silicone grip strips on the inside edge. The longer band distributes weight across your ribs instead of just your bust. This keeps it from slipping down. Look for one with boning on the sides for extra support.
How do I hide bra lines under tight dresses for outfit photos?
Wear a seamless T-shirt bra with molded cups and no lace. Then use a slip-style smoothing came over your bra before you put on the dress. The cameo layers and smooths everything out without adding extra bulk under the dress.
Should I go up a band size for more comfort in outfit photos?
No. A larger band will ride up and create bulges. Stick with your true band size but use the loosest hook setting for comfort. If the band feels tight, use a bra extender instead of going up a full size. Your plus size bra for outfit photos needs to stay securely in place.
Conclusion
Picking a plus size bra for outfit photos does not need to be complicated. Identify your photo problem first. Match your bra to your most-worn necklines. Use the double-close trick for a smooth back. Choose minimizer styles for slimming photos.
Prep your bra properly before every photo. These six steps work whether you are a professional content creator or just taking photos for yourself. Your outfit photos should make you feel excited, not frustrated. Now go apply these tips and see the difference. For more outfit styling advice, check out our guide on dressing for your body type in photos.