You do not need shapewear to create a defined waist. If your outfits often look straight from the shoulders to the hips, a few small styling changes can create much more shape. The key is not squeezing your body. It is using visual lines, fabric placement, and proportions to guide the eye. As a stylist, I focus on where clothing starts, ends, and draws attention. These details can make a simple outfit look more balanced without feeling tight or restrictive. Here are seven practical ways to define your waist while letting your body move and feel comfortable.
1. Tuck In Only the Front of Your Top
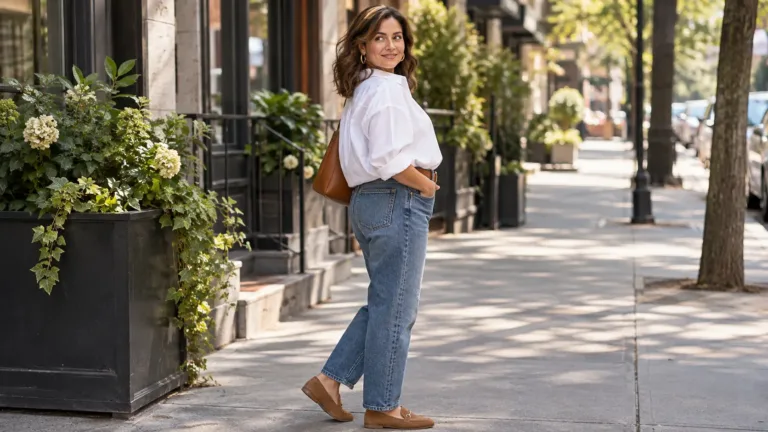
One of the easiest ways to define your waist without shapewear is a strategic half-tuck. Instead of tucking your whole top into your pants, tuck only the center front.
This creates a small visual break between your top and bottom. It also keeps the relaxed shape of the shirt around your sides.
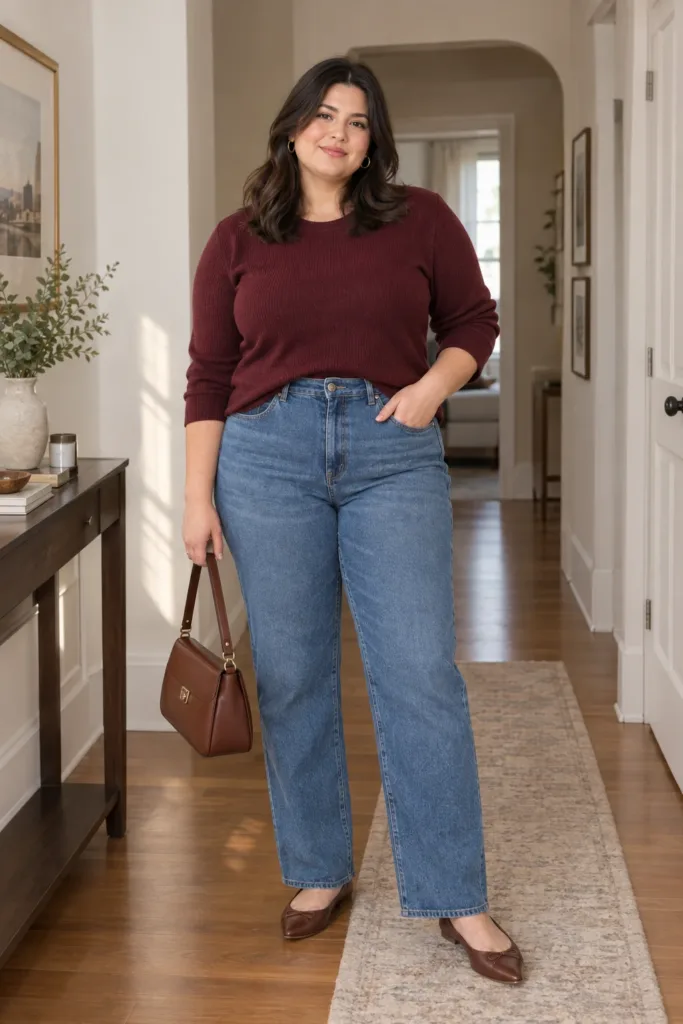
Choose a top with enough fabric to drape naturally. A stiff shirt can bunch around the waistband and add bulk.
Stylist trick: Tuck about 3–4 inches of fabric at the center front, then gently pull a little fabric back out. This gives you shape without making the outfit look overly tight.
2. Choose High-Rise Bottoms With a Clean Waistband
Your waistband can do a lot of the styling work for you. High-rise jeans, trousers, and skirts create a natural visual starting point for your waist.
Look for waistbands that sit smoothly without digging into your stomach. A wide, flat waistband often creates a cleaner line than a narrow elastic one.
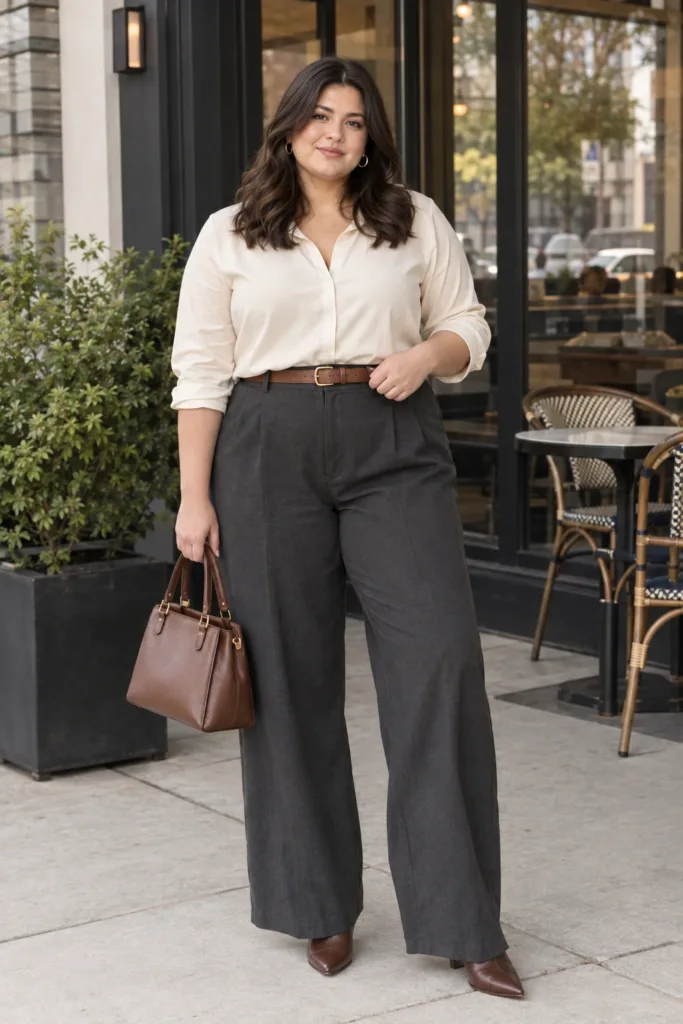
You also want to avoid too many details directly around the waist. Large pockets, bulky buttons, and gathered fabric can compete with the shape you want to create.
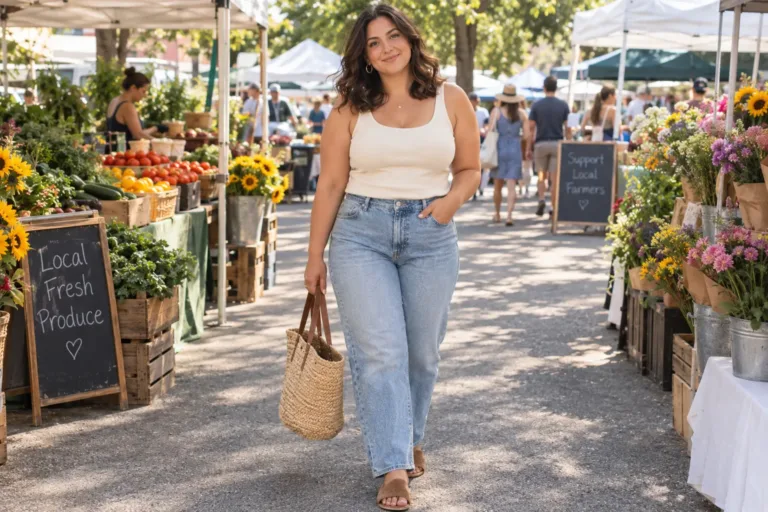
Best pairing: Try high-rise straight-leg jeans with a fitted or semi-fitted top that ends around the hip.
3. Use a Belt Where Your Natural Waist Sits
A belt does not need to squeeze your waist to define it. Think of it as a visual marker, not a compression tool.
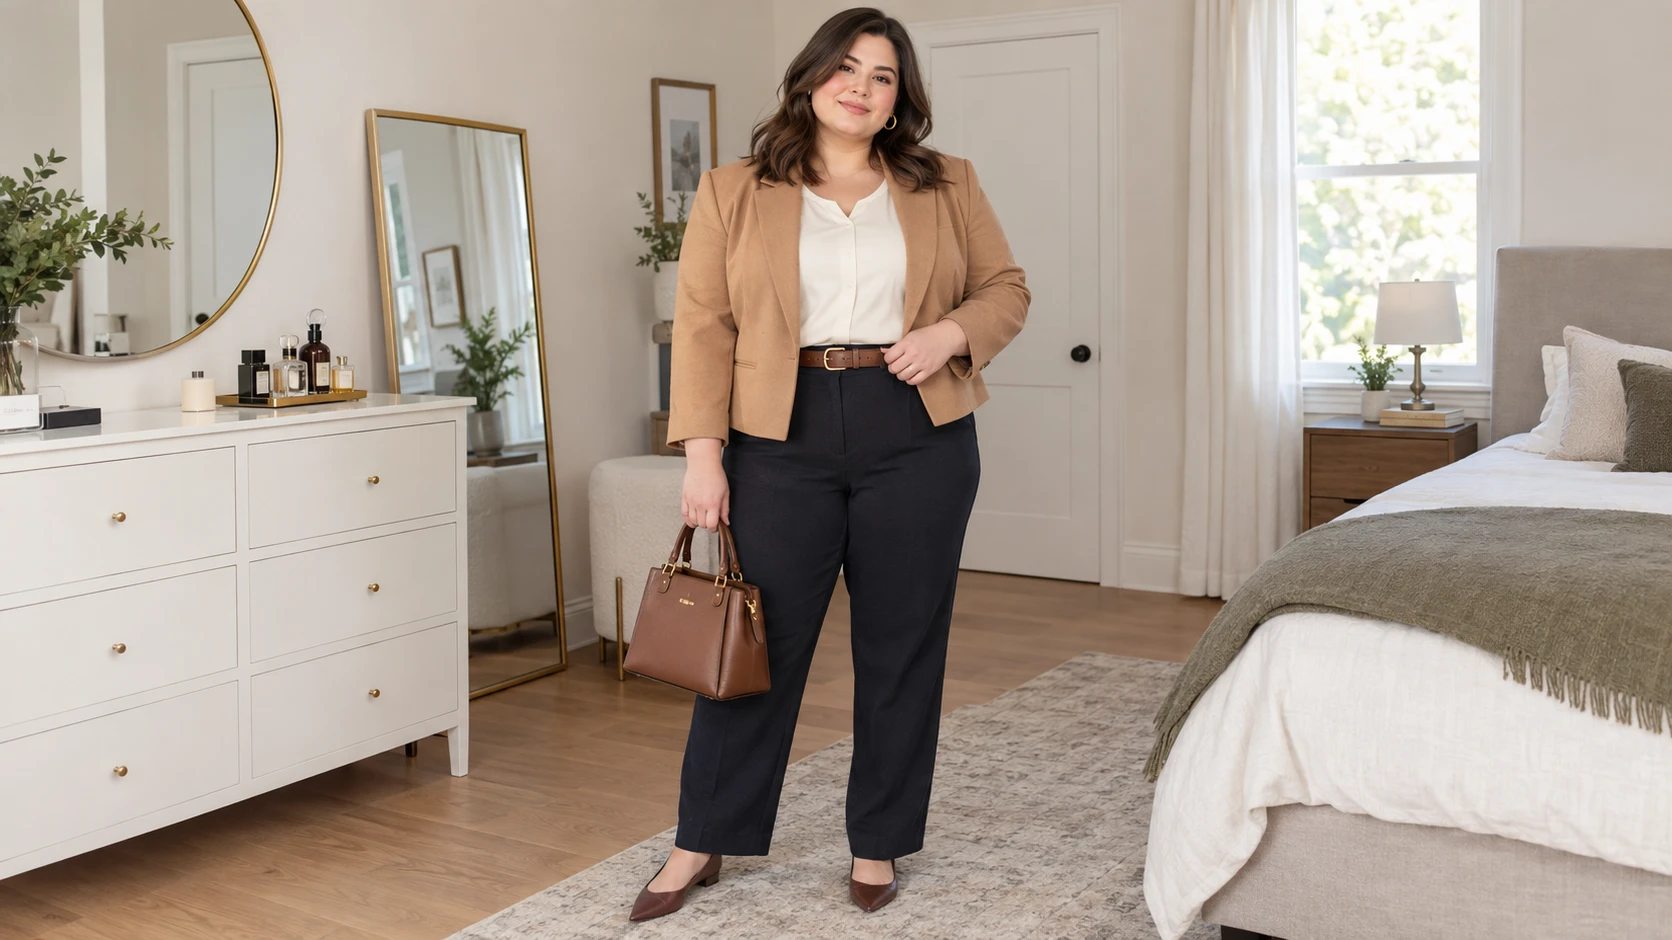
Try a medium-width belt over a dress, cardigan, blazer, or long shirt. Place it close to your natural waist instead of automatically putting it at the narrowest-looking point.
A belt that matches your shoes or handbag can also make the whole outfit feel intentional.
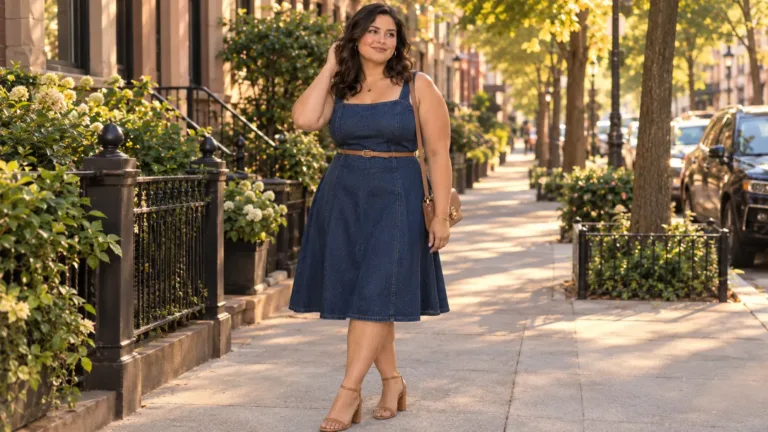
Stylist trick: With a loose dress, place the belt slightly above the fullest part of your hips. This can create a longer-looking lower body and a clear waistline.
4. Add a Shorter Third Layer
Long layers can sometimes make an outfit look like one continuous column. A shorter jacket or cardigan creates a visual break.
Try a cropped denim jacket, waist-length blazer, or short structured cardigan over a simple base outfit. The layer should end near your waist or upper hip.
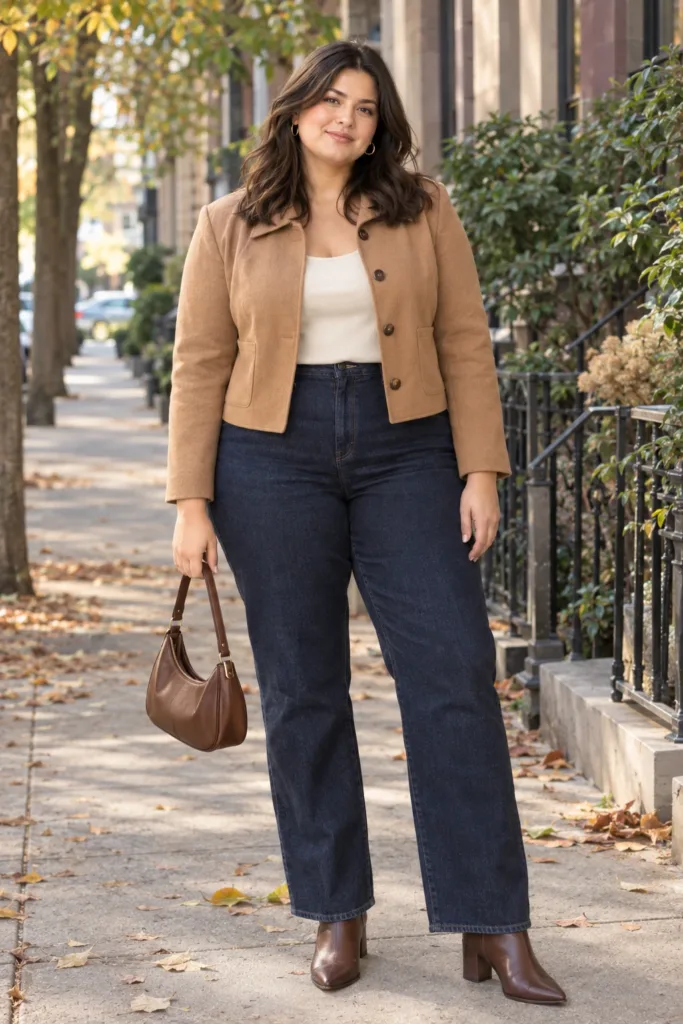
This works especially well when your bottom half has a clean, simple silhouette. The contrast between the shorter layer and longer lower line naturally creates more definition.
Quick Tip
For an easy waist-defining outfit, try:
- High-rise straight-leg jeans
- A tucked-in fitted tee
- A waist-length jacket
- Simple pointed flats or ankle boots
- A structured handbag
Keep the waist area clean and let one piece create the main shape.
5. Try Dresses With Built-In Waist Seams
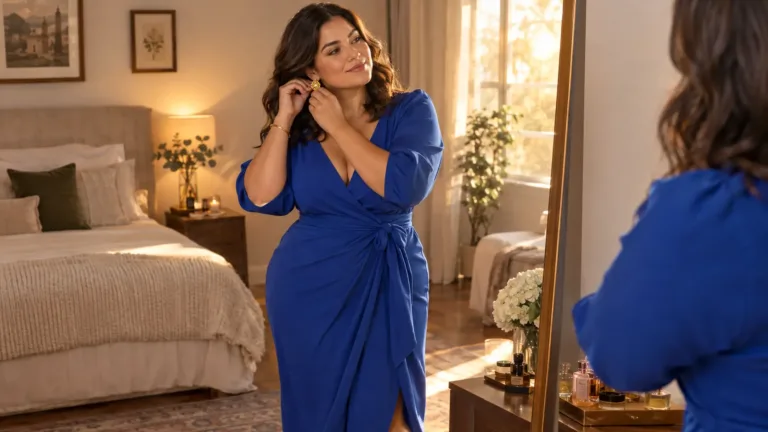
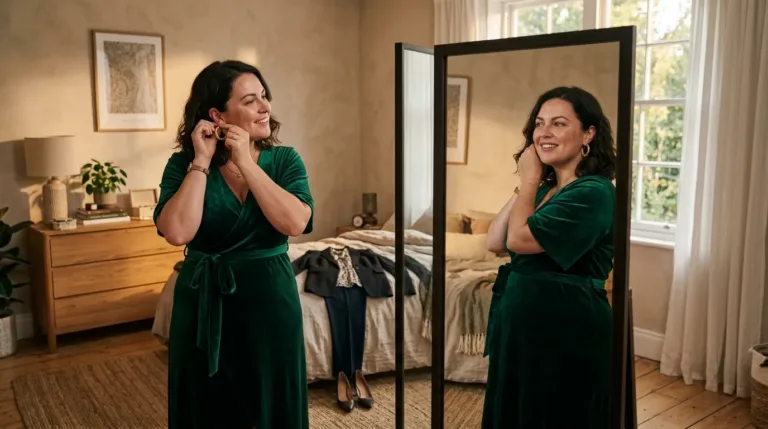
You do not have to belt a dress to create a waist. Some dresses already use seams, panels, or color placement to create definition.
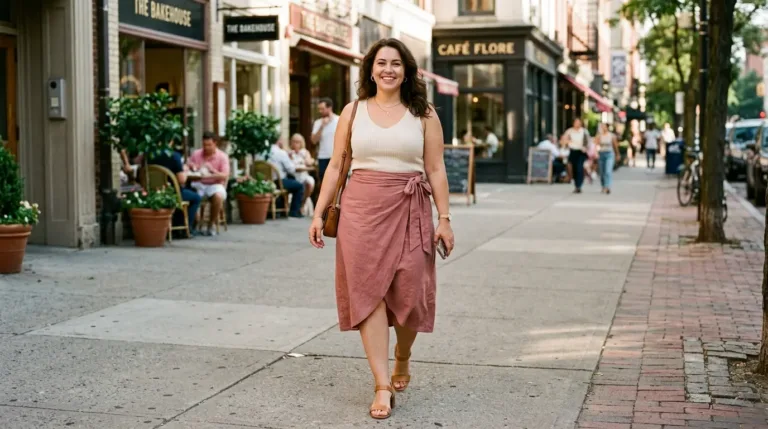
Look for wrap-style dresses, fit-and-flare dresses, faux-wrap dresses, and dresses with a seam that sits near your natural waist.
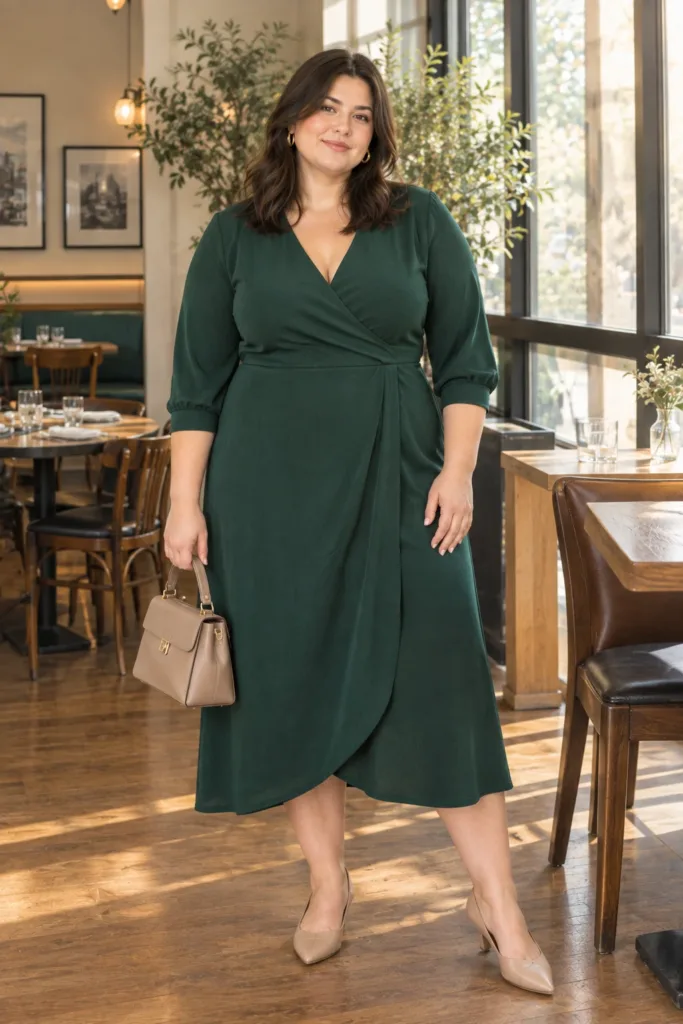
The important part is the placement of the seam. If it sits too high or too low, it may change the proportions you want.
Stylist trick: Look at the dress while standing naturally. The waist seam should visually connect your upper and lower body rather than cutting across an awkward point.
6. Use Color Blocking to Create a Waistline
Color can create shape even when the clothing itself has a simple cut.
Try a darker bottom with a lighter top, or wear a jacket in a contrasting shade over a monochrome base. The change in color helps create clear sections in the outfit.
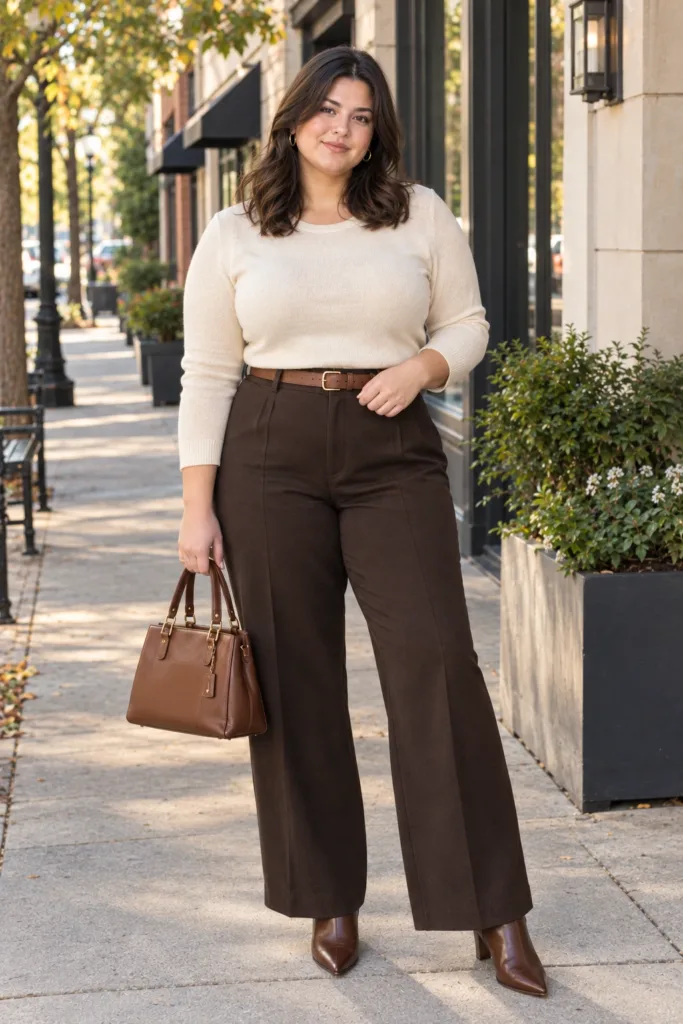
You can also use a tonal outfit with a contrasting belt or handbag near the waist. This draws the eye toward the center without relying on tight clothing.
For example, pair dark straight-leg pants with a cream top and a brown belt. The belt becomes a small focal point while the darker bottom keeps the outfit visually grounded.
7. Balance Your Shoulders and Hips
Sometimes the best way to make your waist look more defined involves adding shape away from the waist.
A slightly structured shoulder can balance fuller hips. A wider-leg trouser can balance a fuller upper body. These changes create contrast, which makes the waist area look more noticeable.
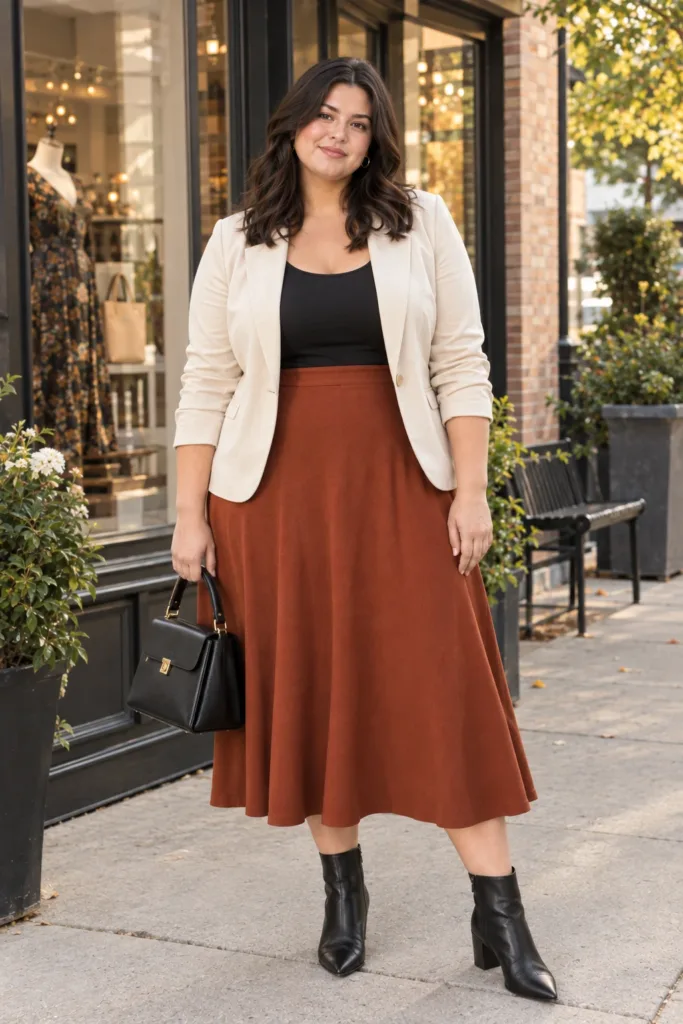
Try a blazer with gentle shoulder structure and straight-leg jeans. Or pair a tucked-in top with an A-line midi skirt.
Stylist trick: If your top and bottom have exactly the same visual width, your waist may disappear. Add controlled volume to one area to create contrast around the middle.
FAQ: Defining Your Waist Without Shapewear
How can I define my waist without wearing shapewear?
Use clothing structure instead of compression. High-rise bottoms, strategic tucks, belts, waist-length jackets, wrap dresses, and color blocking can all create a clearer waistline.
What tops help create a more defined waist?
Semi-fitted tops work well because they follow your shape without clinging. You can also try wrap tops, tucked shirts, fitted tees, and tops that end around the upper hip.
Do belts make a waist look smaller?
A belt can create a stronger visual waistline, but it does not need to feel tight. Choose a comfortable width and place it where it creates the best balance with your outfit.
Conclusion
Defining your waist does not mean squeezing it. The right clothing proportions can create shape while keeping your outfit comfortable and easy to wear. Start with one simple change, such as a front tuck, high-rise bottoms, or a waist-length layer. Then build from there. Your goal is not to change your body. It is to make your clothes work better with the body you already have.